
How to Make Great Lightroom Presets in 6 Steps
I want to take a few minutes to talk Lightroom presets today- specifically, how to create Lightroom presets that don’t suck.
If we haven’t met, my name is Nick. I am a professional photographer and filmmaker traveling full-time around the United States and internationally. This is mostly just a way of saying I live out of suitcases and spend too much time in airports.
The point of this article:
Over the last few years, I’ve been fine-tuning my editing process- because I’ve had no other choice.
As someone who takes tens of thousands of photos every year, I need to be as efficient as possible in post. I simply cannot spend twenty minutes editing each photo. I’d be even further behind on than I already always am.
One of the ways I’ve increased my efficiency while editing photos in Lightroom is by creating presets over the years that get me close-ish to the look I’m hoping to achieve so that I can focus on fine-tuning rather than doing major edits.
Pretty basic concept, but not something that is easily achieved. It often takes years and years of practice and editing experiments to create a unified look and feel that is all your own. Most photographers are not content with just making exposure adjustments, after all.
How I use my Lightroom presets
If you’re interested in learning more about my specific editing style, I’ve put together a video about my presets and how I use them with my photos.
Full disclosure: I can’t talk about Lightroom presets without letting you know that mine are for sale.
Rest assured, I’m not here to sell them to you. This article is strictly about how you can make your own, because no one preset pack is right for everyone, and it wouldn’t make sense to just tell you to buy mine without knowing what look you’re hoping to achieve.
Now that that’s out of the way, let’s dive in:
How do Lightroom presets work?
A Lightroom preset is simply a record of adjustments to exposure, color, and other settings that are saved so that you can carry them over to other images instead of starting from scratch every time you open a photo in the software.
However, saving your edits and applying them to another photo does not tend to work all that well.

For example, one of my favorite presets from Baja California makes this scene from the arts district in Downtown LA look very pink.
The lighting, colors, time of day, subject matter, and any number of other variables will have changed, even with shots taken a few moments apart, so inevitably, adjustments will need to be made.
Notice how, at the very beginning, I said the presets I’ve created get me close to the look I’m hoping to achieve- not that they do the whole job for me in one click.
You can bang your head against the wall trying to make your Lightroom Presets as ambiguous and universal as you want, and you’ll still come across a photo set where your tried and true, go-to preset looks… just terrible.
It happens to us all.
Should you buy Lightroom presets?
An open-ended question, and again, I promise my answer isn’t going to be, “Yes, you should buy mine.”
There are a few reasons you might consider buying Lightroom presets
You are new to editing, or struggling with Lightroom (which can be a tough program to master, even for seasoned photographers)
You’re trying to emulate a specific look
You’re looking for inspiration
You want to support a creator you like or get an idea about how they edit their photos
There are reasons not to buy Lightroom presets too
Some Lightroom presets can be a scam. Straight up.
There are some very low-quality offerings out there that don’t do what they advertise. Be very wary of anyone selling presets that ‘work like magic’ or ‘look great in one click’.
Presets can also be expensive. Some cost a lot more than others, and honestly with something that might look great on certain images, but still be totally wrong for others, it’s just not worth it to shell out a ton of cash for a preset pack, no matter how great the creator is.

A brilliant wedding photographer I follow who charges $199 for 20 presets.
I’m not going to tell you how much to spend, but use your best judgment and temper your expectations.
Lightroom also has tons of built-in presets. I don’t really love the results I get with them, but you might find you already have what you need without buying anything at all. Just experiment a bit and see what you can find.
How to make your own Lightroom presets
Making Lightroom presets takes a long time, and a lot of hours testing them across different images, so it’s an ongoing process.
I don’t say this to scare you away, but just to make you aware of the fact that this is not going to be a quick afternoon project.
The presets I made available in my shop took several months of trial and error and testing across thousands of photos to get right. And those are based on presets I’ve been developing for years.
I’ve also been through several iterations, and I have entire sets of legacy presets from when I was going for totally different looks.
Moral of the story: Don’t be afraid of trial and error!
Mistakes to avoid
Before we dive into what you should do, let’s talk about the biggest things I’ve messed up along the way so that you don’t have to!
Heavy color grading or major adjustments
Major edits may look great on one image but are very unlikely to work well with others.
Ideally, you should have a set of presets that works across as many images as possible by making minor adjustments to little things like temperature and exposure.
An example of one of the presets from my ‘Street Essentials’ pack.


Adjusting lens, optics, etc. settings by accident
Remember that in Lightroom, presets can change more than just color and exposure.
Make sure you take a look at what settings are being adjusted when you save a preset.
You probably don’t want your presets removing lens corrections and so on, so just double-check that you’re not adjusting those things until after the preset is applied unless you want it to be the same across all your images.
Trying to copy someone’s style exactly
I’m not really coming at this from a plagiarism angle, it’s hard to claim ownership over a certain ‘look’ and I think it’s okay to emulate other photographers, BUT…
Editing styles are subjective and usually very specifically crafted.
It takes a long time and a lot of effort, but you’ll want to find your own style, one that works best with what you like to shoot and how you shoot it.
Trying to copy someone’s style exactly will be very difficult unless you shoot exactly like them in the first place- same gear, same subject matter, same lighting/location, etc.
Much of a photographer’s signature ‘style’ has more to do with where, how, and at what they point the camera, than what sliders they’re adjusting in post.
Now, what SHOULD you do?
I can’t tell you how to color grade your images, or how much grain to use, but I do have a system for creating presets that actually work across a wide variety of photos.
I have created my Lightroom presets following roughly the same workflow for years, and I’m in a place where I feel comfortable recommending this specific recipe, as it works great for me at this stage.
Step 1: Start with a RAW image that is well-exposed
If you start with well-exposed images that you would adjust only slightly, your edits will be more universal by nature.
An image like this is a good place to start. Good lighting, but nothing too crazy going on. No dramatic sunsets, light flares, complicated/challenging color situations, etc. Just a well exposed composition with lots of neutral colors.
Step 2: Make ‘universal adjustments’
There are certain things I know I do to almost every photo, for instance- bump up the exposure slightly, increase the whites, warmth, etc but if you’re making major adjustments to exposure, you’re just going to be starting all over on the next photo.
Make ONLY the adjustments you plan to make to >80% of your images.
Step 3: Create a ‘look’
This is the part that makes presets valuable. I’m not going to talk about the exact process I go through to create a look because it would be far too specific to be useful to you, but here is the basic process:
Find a set of images from the same location that has roughly the same color palette and lighting.
Work with the color mixer, grading, and effects modules to develop a look that works well on that set of images. I.e. boost the blues in a bright sunny photo, add warmth to the highlights, make the yellows slightly more orange, etc.
This will never look great on every photo, your goal is to find a look that works on a certain kind of image.

My work is inspired heavily by films and cinematography, so I lean toward a movie look. BUT this works well because I very intentionally chase photos that look like they could be stills from a movie.
Step 4: Trial and Error
Copy your edit settings and try it out on other photos. Keep fine-tuning until your preset seems to get you close to the desired look on most of the images in your chosen set.
Step 5: Organization
Save your preset and name it after where you took the photos, the conditions, etc. to help you understand what photos it will work well with later.
Step 6: Iterate on your first look
Now that you have one preset look you like, find a new set of photos where the light or location changes slightly. Apply that first preset and adjust it to work on this new set of photos.
Once you’ve adjusted it to work with that set, save it as a new preset, named after this situation/lighting condition/location, and repeat.
Continue this process until you have a group of several presets that cover a large variety of lighting and color situations- ideally, the ones you shoot most often.
You’ll use some more than others, maybe one or two of them all the time. But what you should come away after plenty of testing and trial and error, is a group of presets that get you close to where you want, but don’t vary too greatly from each other- getting you closer to that ‘style’ we’re all trying to find.

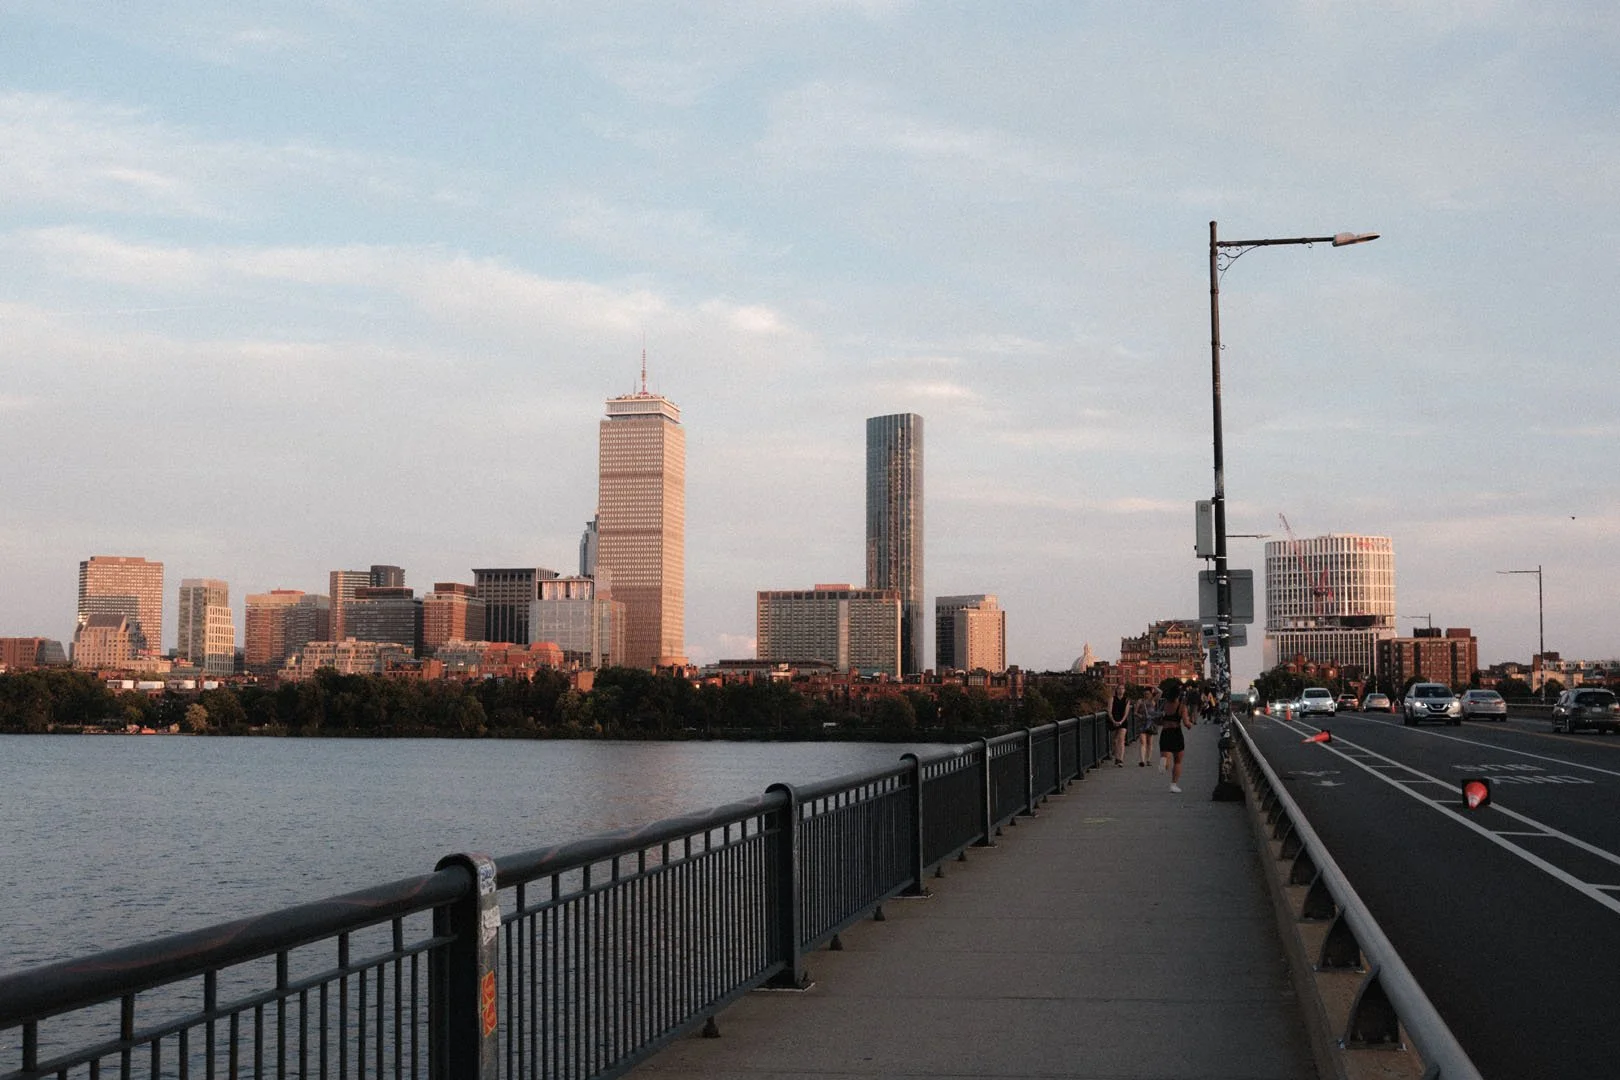
Ideally, you’ll come away with photos that look like they belong together no matter the lighting/colors/etc. Notice how this image has a similar matte/cinematic look to the other images in this article despite being a completely different lighting situation.
Wrapping up
That’s that. This process has served me well across thousands and thousands of photos, and I hope it can be helpful to you now too.
If this article was useful to you or you have any questions, please don’t hesitate to reach out to me on social or send me an email.
If you’re interested in taking a look at the presets I’ve developed for purchase, those are available here.
Thanks for reading!
-Nick


